Come And Join Me In My Creativity Zone

Come and join me in my Creativity Zone where you can enjoy fun and challenging card design ideas that will inspire you to learn new techniques to maximize the use of your craft tools, most especially the Silhouette Cameo machine along with the Silhouette Studio Designer software, and truly enjoy your crafting to the fullest.

All my files are shared for free, ONLY with my blog followers. The files are in Silhouette Studio format. They are for PERSONAL use only and must not be redistributed. You can share by directing people to the link of the project/post on my blog. Thank you for your compliance.

Monday, September 15, 2014

Spellbinders Card - (Borderabilities) Scalloped Borders One Birthday Card

Continuing my craze with manual die cutting, here is another card making use of various dies. I also used a new blending tool for the ink application, the color dusters. The tutorial that I saw on color dusters used the Inkylicious (Ink Duster) brand which is sold in Europe, quite expensive. I went on to experiment with various make-up brushes which worked just fine and then I discovered the Judikins brand which worked very well and are inexpensive. I bought more packs as I now prefer using them more than the Tim Holtz blending tools. There is no chance of smudging the ink as the brush is very forgiving and blends the ink well. I just love them!

The key to this card is being very precised with the measurement of the layers used. The photos show the many layers used on the card. Another first on this card is the unique pocket that is on the back of the card. There is no fold on this card. I created the pocket on the back for the message insert. I love the way it turned out, all because of the beautiful border die used which I slanted for added style on the card.

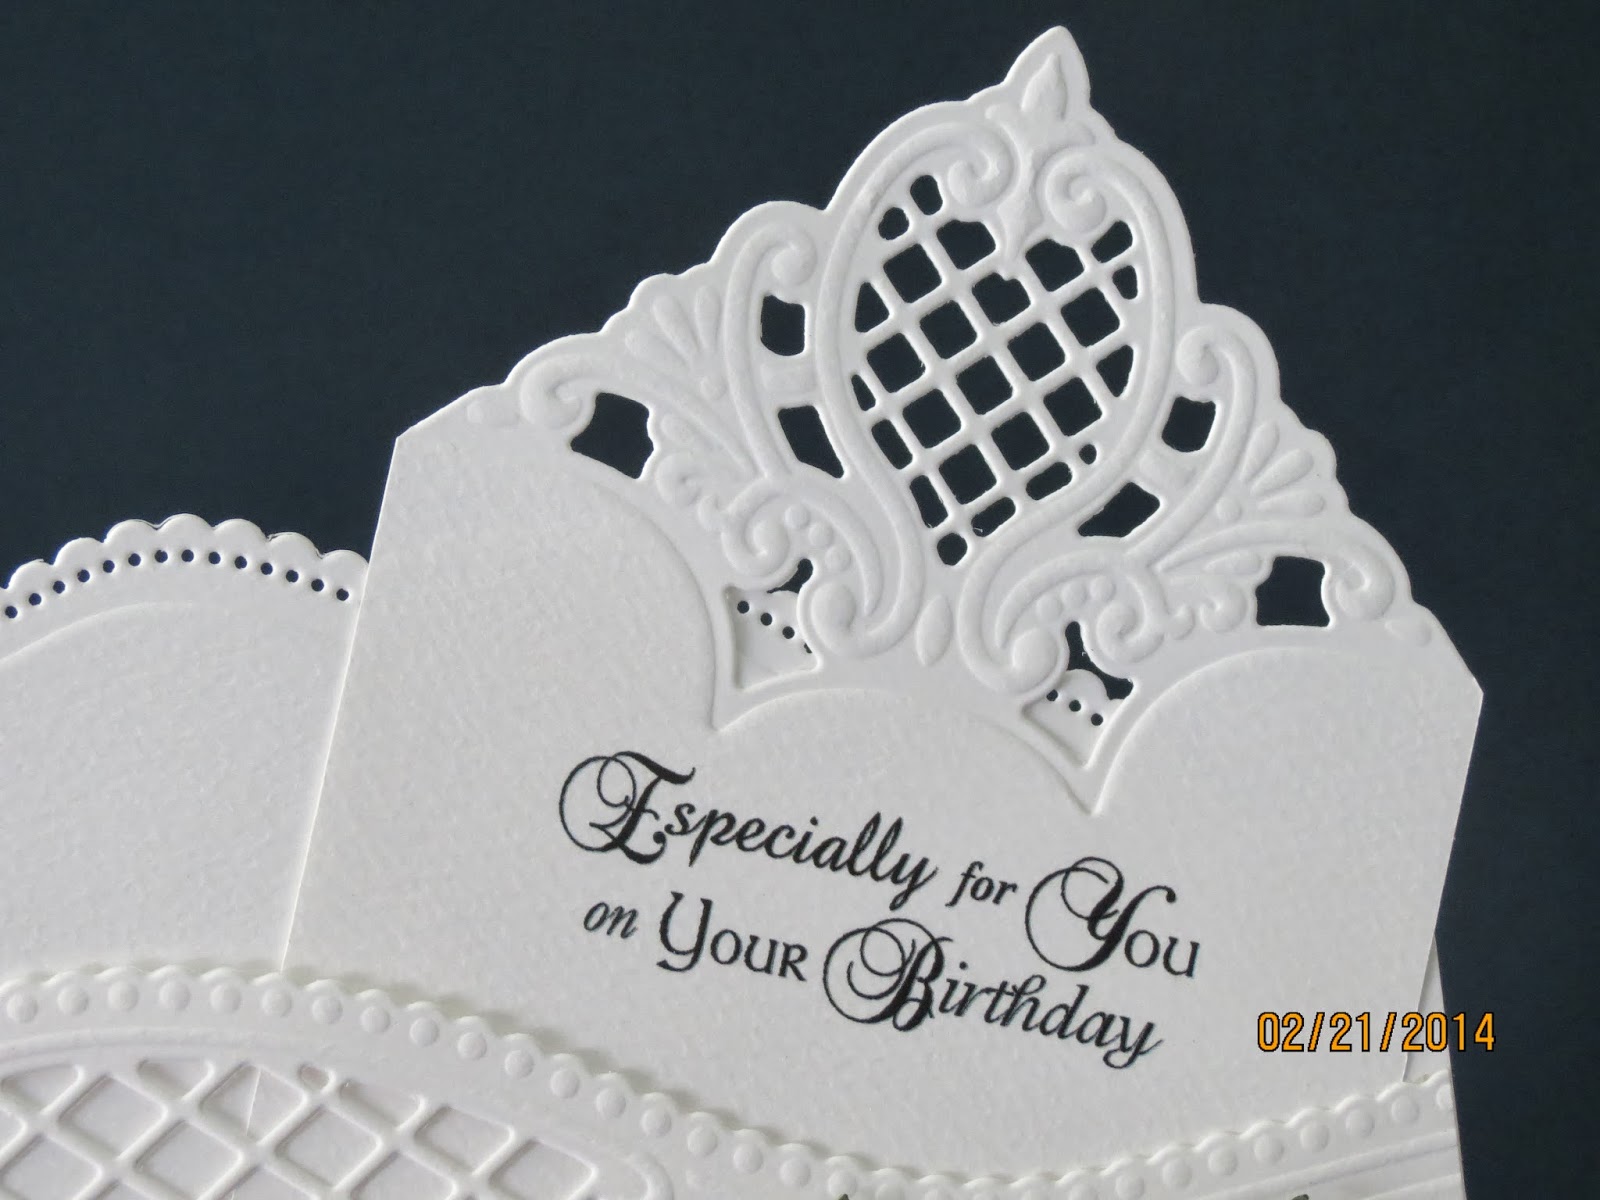
I made this card for my friends Leng, Jing and my niece, Malaya.

For the free file which include the box and the sentiments, just post your request in your comment with your email address. Please note that I only share my files with my blog followers.

Dies used on the box:
Flourish - Memory Box 'Darrington Corner'
NameTag - Marianne Design 'Anja's Labels'


Happy crafting!
Ligaya


Spellbinders Borderabilites - Scalloped Borders One
Spellbinders Nestabilities - Decorative Labels Twenty-Two

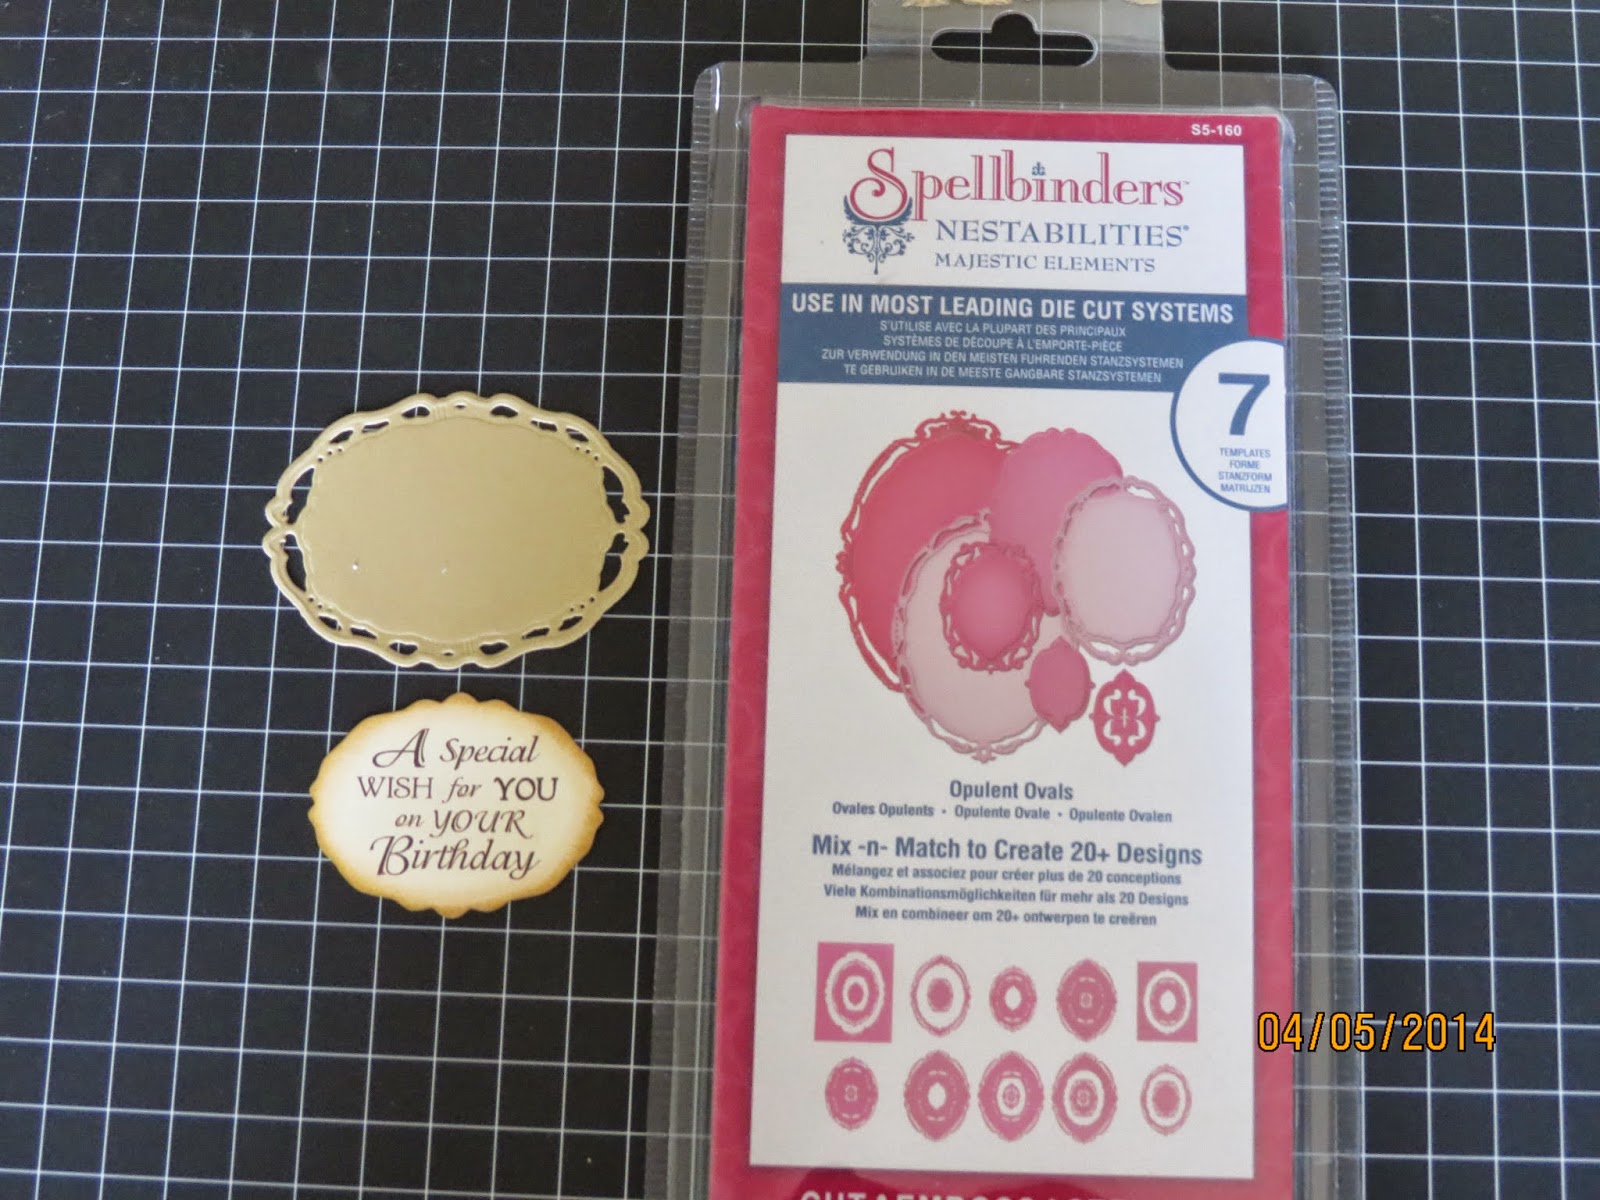
Spellbinders Nestabilities - Opulent Ovals


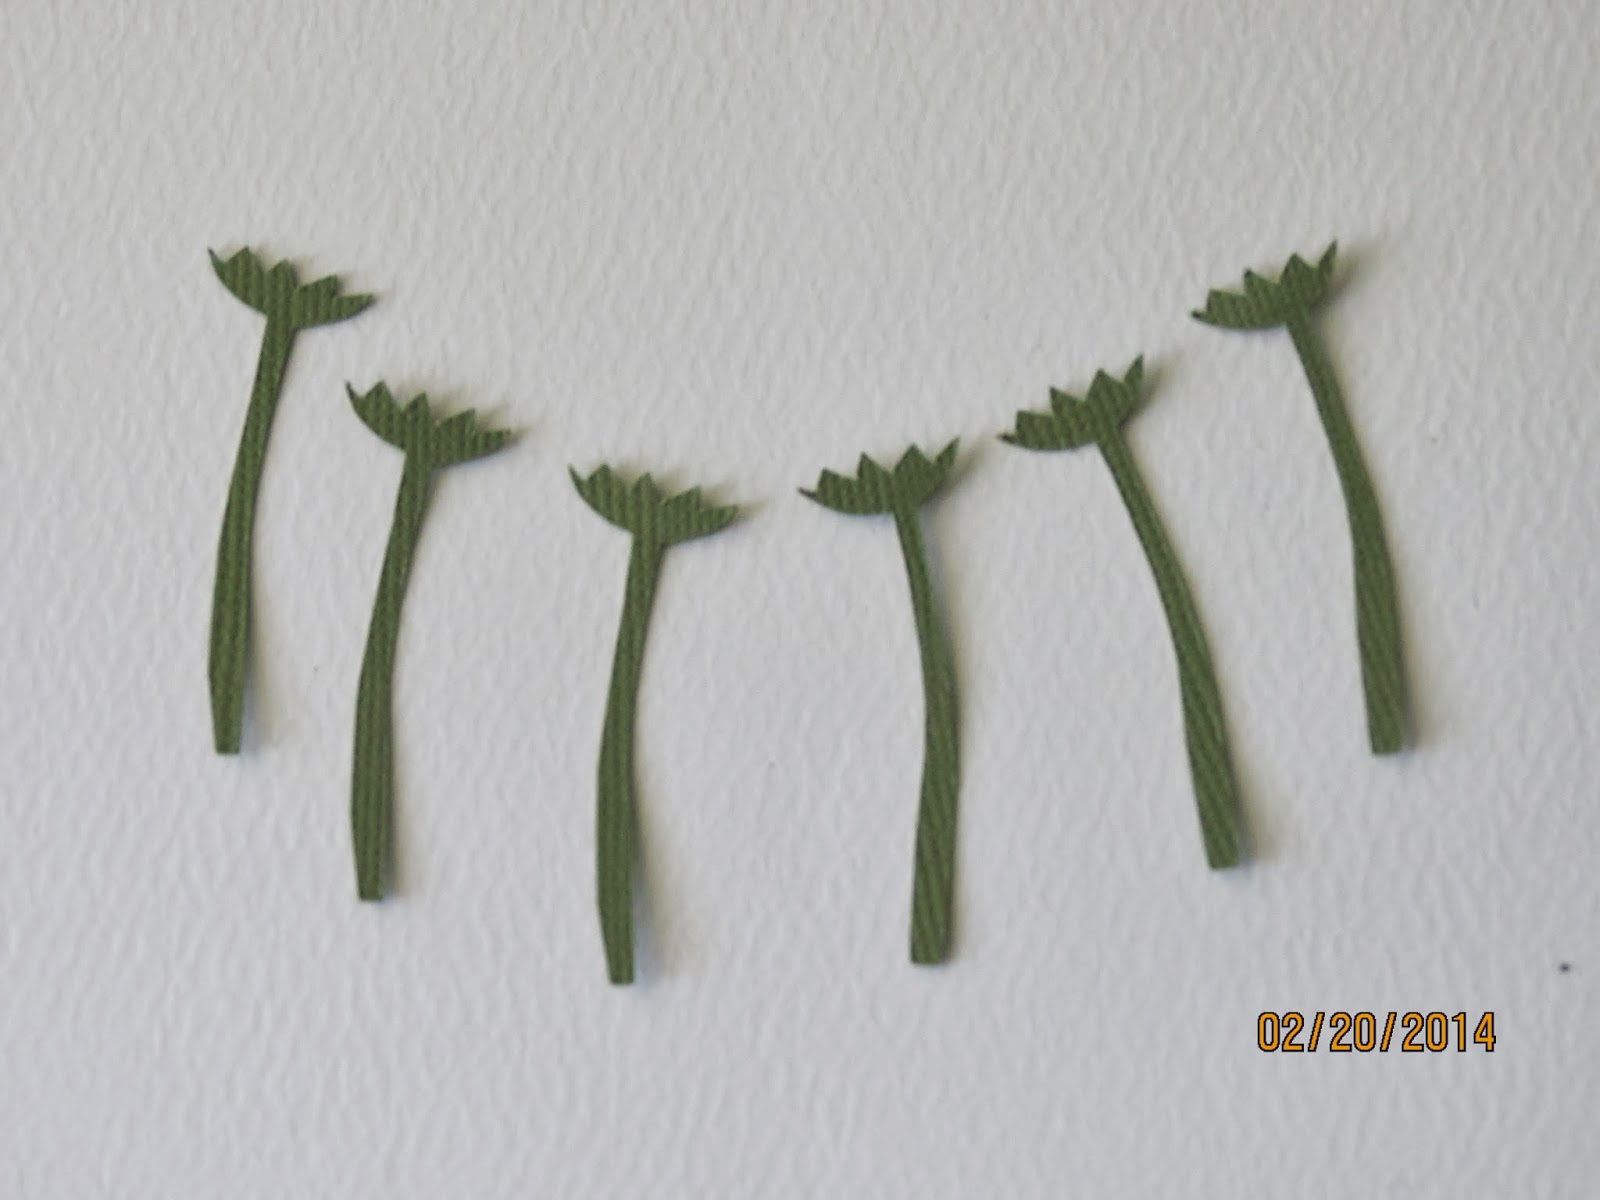
Cuttlebug by Anna Griffin - Poppy

Marianne Designs - LR0157 (Decorative Elegance)


Tim Holtz Distress Ink - Brushed Corduroy and Judikins Color Dusters 


Sunday, February 23, 2014

Tulips Card


I just recently got into manual die cutting and this is my very first card making use of dies. For so many years, I never wanted to invest in dies for the simple reason that I already have a digital cutting machine which can cut any design that I want. I refused to fall again into the extravagant cycle of constantly wanting to buy new designs like I did when I was into rubber stamping when after using the design for only a couple of times, I easily got tired of them and always wanted to buy new designs every time I made a new card. Since I started using the Silhouette SD machine more than three years ago and eventually the Silhouette Cameo as soon as it got released two years ago, I completely lost interest in rubber stamping. With the Print and Cut feature of the Silhouette Studio, I can easily create my own beautiful sentiments and messages using my favorite fonts as well as images from all various sources for the cards that I make matching exactly the same color of the color theme of my card.

BUT, the designs of these dies are simply amazing!!!!! They are so intricate and the detail of the embossing is just soooooo beautiful. I don't think there is yet any personal digital cutting machine that can emboss on card stock. That is my dream machine, one than can emboss, with crisp impression, on card stock just like a manual embossing machine can. I am most definitely hooked on dies now. I already have quite a collection from Marianne Design, Joy Crafts, Memory Box, Spellbinders, Sizzix and Cottage Cutz. I have not explored the designs of Cheery Lynn and Nellie Snellen yet :-).

What enticed me into dies are the fabulous and amazing cards that I have been pinning on my Pinterest. The fabulous Marianne Design dies really caught my attention and I became practically obsessed. The inspiration for my Tulips card was this card from Pinterest, I fell in love with this card!!! I bought the Marianne Design dies used on the card and copied the design of the card. I would like very much to properly show my appreciation to the person who made the beautiful card but when I clicked on the pinned item, it brings me to the Marianne Design website with pages of cards. After browsing about 30 pages, I could not find the card and just gave up. If anyone can recognize this card and point me to the direction of the owner, please post a comment and share the information with me so I can give her the credit for my inspiration.

I'm not sure if anyone would notice but I made a mistake with my Tulips flower. I created my own stems with the sepal part only to find out that the real Tulips flower does not have this. But I thought the die cuts look nicer with the sepal :-).

Getting the right measurement in allowing for the placement of the die on the layering of the card can be tricky. I actually cut the layers of the base of the card with my paper trimmer instead of my Silhouette Cameo but I created the templates for the different layers which I included in the free file that I'm sharing with my blog followers. Also included in the free file is the sentiment, 'Especially for You on Your Birthday'. The names of all the designs used on the card are indicated on the captions of the photos below.

Happy crafting
Ligaya


Spellbinders 'Scalloped Borders Two'

Marianne Design 'Fancy Edge

Marianne Design 'Corner'

Lala Land 'Filigree Corner'

Spellbinders D'Lites 'Corner Sprigs'

Marianne Design 'Daisy Basket'
I glued a strip of wide ribbon on the back of the basket to
hide the strip of paper holding the flowers and the leaves

Marianne Design 'Tulips'

My own design created in Silhouette Studio

From the Silhouette Store - 'Locust Leaf'

Manual embossing technique for shaping the leaves using one
of my favorite tools, the Paper Blossoms Stylus Set

Tip for positioning the flowers and leaves before adhering them
on the card and then covered with the basket: cut a strip of paper
and put double sided tape on both the front for gluing the
flowers and on the back for gluing the leaves


Monday, December 16, 2013

Christmas Card 2013

Another good year for efficient time management on my Christmas cards :-). As of this writing (December 14), most cards have already been received by the recipients both locally and abroad. Happy dance!

I ended up using again the same color theme as last year. How can I stay away from these beautiful colors of Christmas? The poinsettia flower was originally meant to be used for last year's Christmas cards but the wreath design won me over. So it was very convenient that the poinsettia pieces were already cut last year. I actually meant to use the Spellbinders poinsettia die but it took a while for my order to get here so I created my own template in Studio. The Spellbinders die is so beautiful that I may end up using it for Christmas next year, perhaps a white poinsettia on an all white card.
Along with my favorite McGill Paper Blossoms stylus set for shaping and manually embossing the poinsettia flower, I used my scoring board for the center vein of each petal. It added a nice dimension on the flower.

The base of the card was done manually with 8.5" x 11" cardstock (for both the red and cream layers), using 2 different Martha Stewart punches and a Sizzix embossing folder (names below). The photos below will give you an idea on the measurement.

For my blog followers who are interested in the poinsettia flower Studio file, just post a comment to request for the file.

For my new blog visitors, I only share my free files with my blog followers. This will hopefully entice you to sign up and enjoy the rest of my free files on every card that I have created.

Wishing you all a Merry Christmas and a Blessed New Year!

Cheers,
Ligaya


Martha Stewart scoring board, Martha Stewart Branch punch,
McGill Paper Blossoms Stylus Set


Flourish Floral embossing folder from the Sizzix Flourish & Flower Set

8.5" x 11" cardstock cut into 2 pieces

Martha Stewart Deep Edge Floral Vine punch
Martha Stewart Edge Doily Lace punch


We R Memory Keepers Crop-A-Dile Corner Chomper Tool 
with 2 rounder sizes, 1/4" and 1/2" (used 1/4")