I just recently got into manual die cutting and this is my very first card making use of dies. For so many years, I never wanted to invest in dies for the simple reason that I already have a digital cutting machine which can cut any design that I want. I refused to fall again into the extravagant cycle of constantly wanting to buy new designs like I did when I was into rubber stamping when after using the design for only a couple of times, I easily got tired of them and always wanted to buy new designs every time I made a new card. Since I started using the Silhouette SD machine more than three years ago and eventually the Silhouette Cameo as soon as it got released two years ago, I completely lost interest in rubber stamping. With the Print and Cut feature of the Silhouette Studio, I can easily create my own beautiful sentiments and messages using my favorite fonts as well as images from all various sources for the cards that I make matching exactly the same color of the color theme of my card.
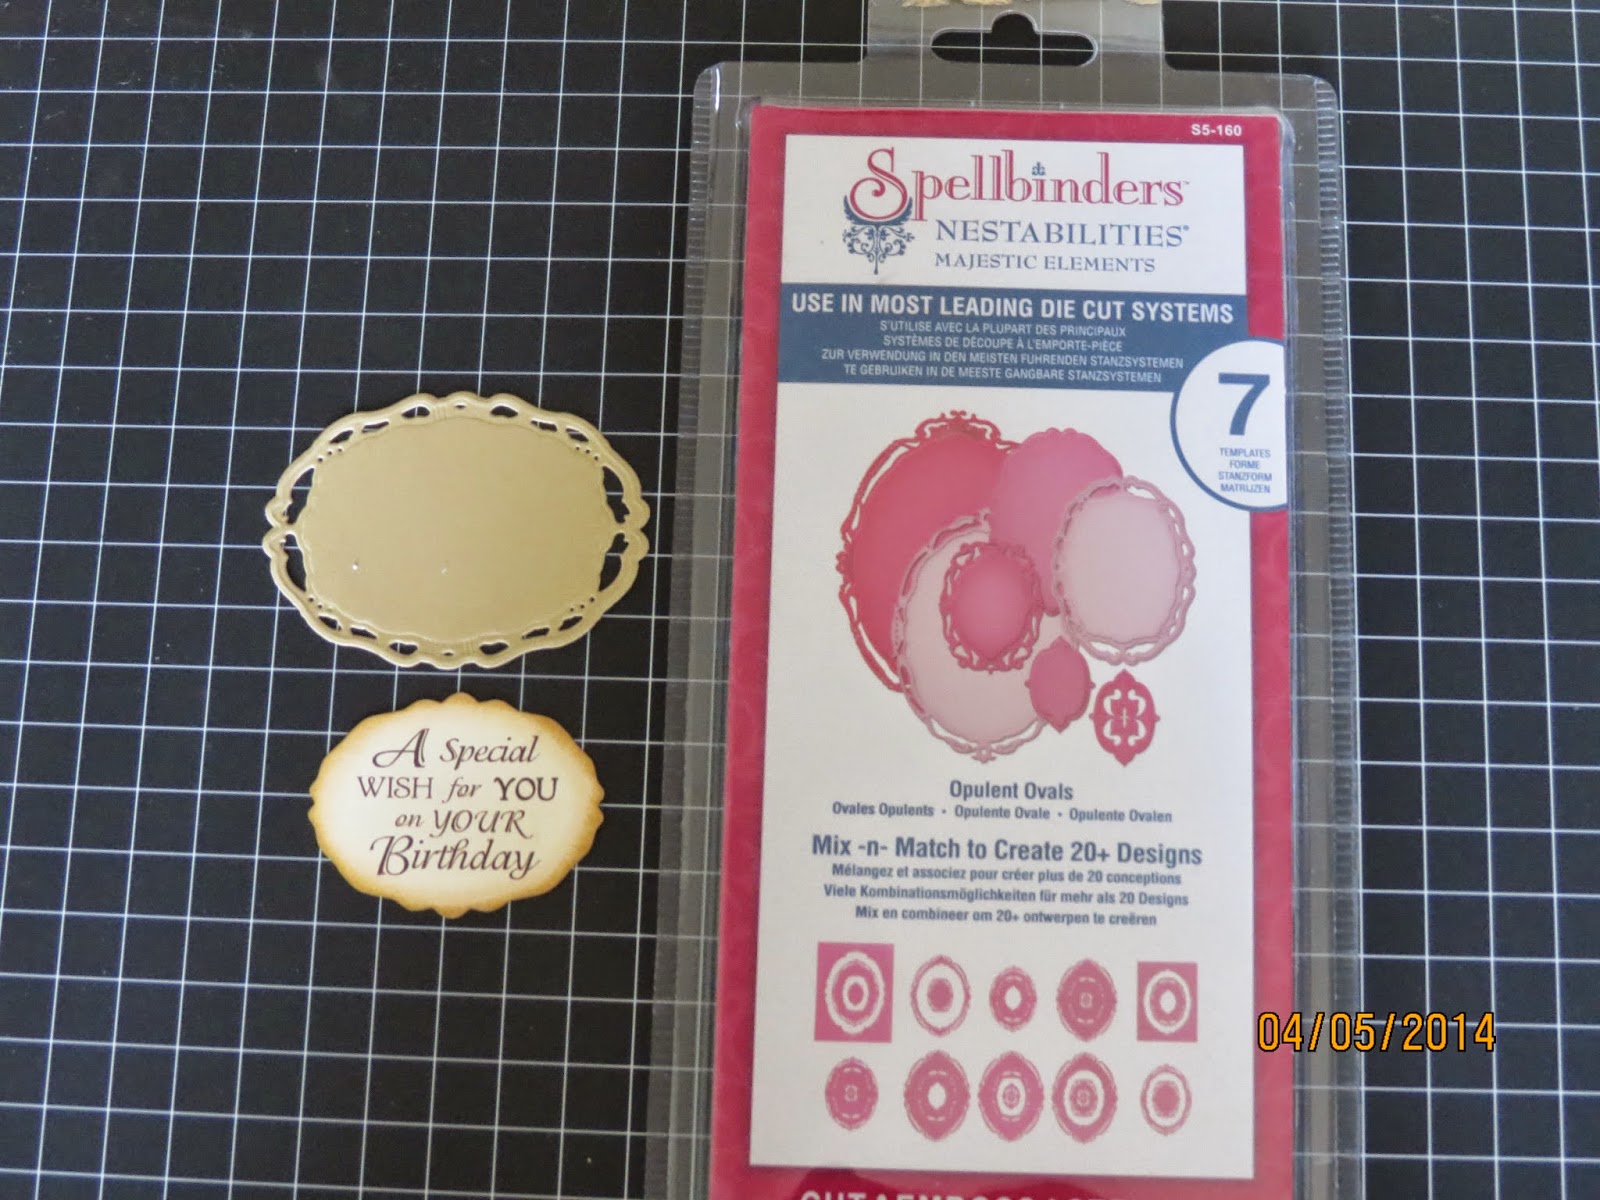
BUT, the designs of these dies are simply amazing!!!!! They are so intricate and the detail of the embossing is just soooooo beautiful. I don't think there is yet any personal digital cutting machine that can emboss on card stock. That is my dream machine, one than can emboss, with crisp impression, on card stock just like a manual embossing machine can. I am most definitely hooked on dies now. I already have quite a collection from Marianne Design, Joy Crafts, Memory Box, Spellbinders, Sizzix and Cottage Cutz. I have not explored the designs of Cheery Lynn and Nellie Snellen yet :-).
What enticed me into dies are the fabulous and amazing cards that I have been pinning on my Pinterest. The fabulous Marianne Design dies really caught my attention and I became practically obsessed. The inspiration for my Tulips card was
this card from Pinterest, I fell in love with this card!!! I bought the Marianne Design dies used on the card and copied the design of the card. I would like very much to properly show my appreciation to the person who made the beautiful card but when I clicked on the pinned item, it brings me to the Marianne Design website with pages of cards. After browsing about 30 pages, I could not find the card and just gave up. If anyone can recognize
this card and point me to the direction of the owner, please post a comment and share the information with me so I can give her the credit for my inspiration.
I'm not sure if anyone would notice but I made a mistake with my Tulips flower. I created my own stems with the sepal part only to find out that the real Tulips flower does not have this. But I thought the die cuts look nicer with the sepal :-).
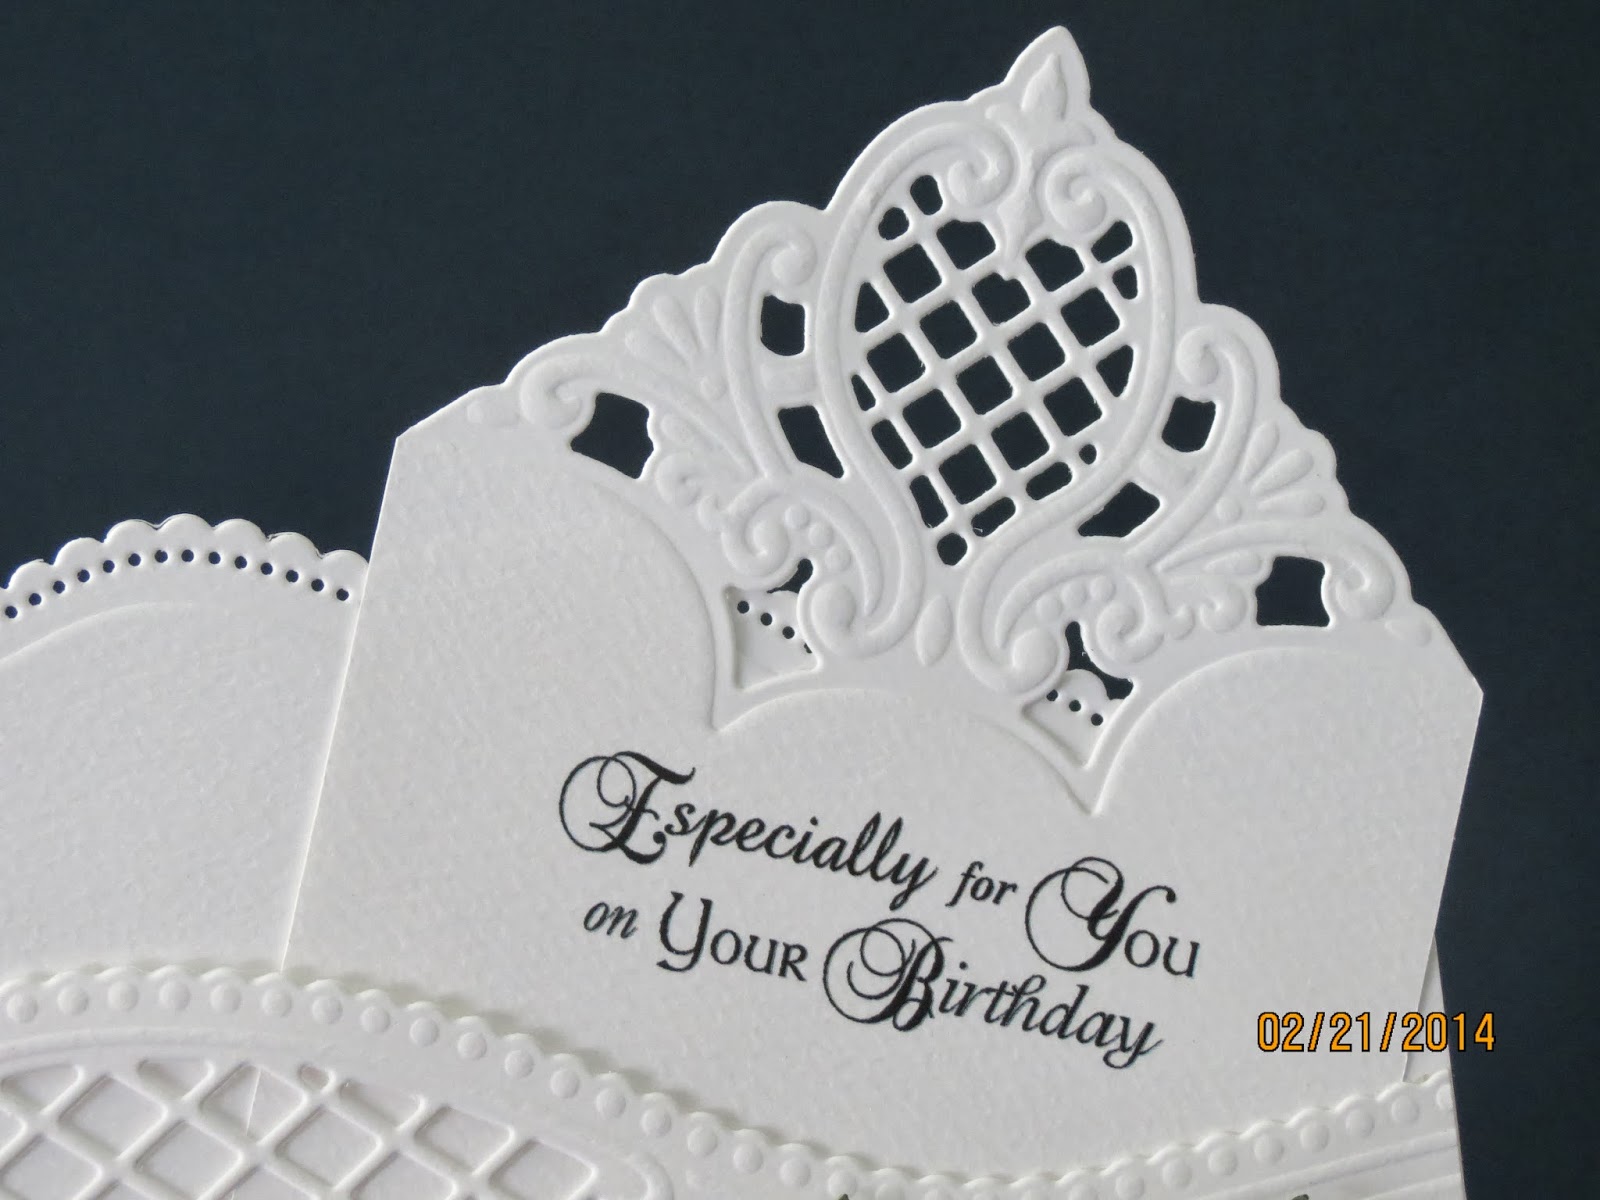
Getting the right measurement in allowing for the placement of the die on the layering of the card can be tricky. I actually cut the layers of the base of the card with my paper trimmer instead of my Silhouette Cameo but I created the templates for the different layers which I included in the free file that I'm sharing with my blog followers. Also included in the free file is the sentiment, 'Especially for You on Your Birthday'. The names of all the designs used on the card are indicated on the captions of the photos below.
Happy crafting
Ligaya
 |
| Spellbinders 'Scalloped Borders Two' |
 |
| Marianne Design 'Fancy Edge |
 |
| Marianne Design 'Corner' |
 |
| Lala Land 'Filigree Corner' |
 |
| Spellbinders D'Lites 'Corner Sprigs' |
 |
Marianne Design 'Daisy Basket'
I glued a strip of wide ribbon on the back of the basket to
hide the strip of paper holding the flowers and the leaves |
 |
| Marianne Design 'Tulips' |
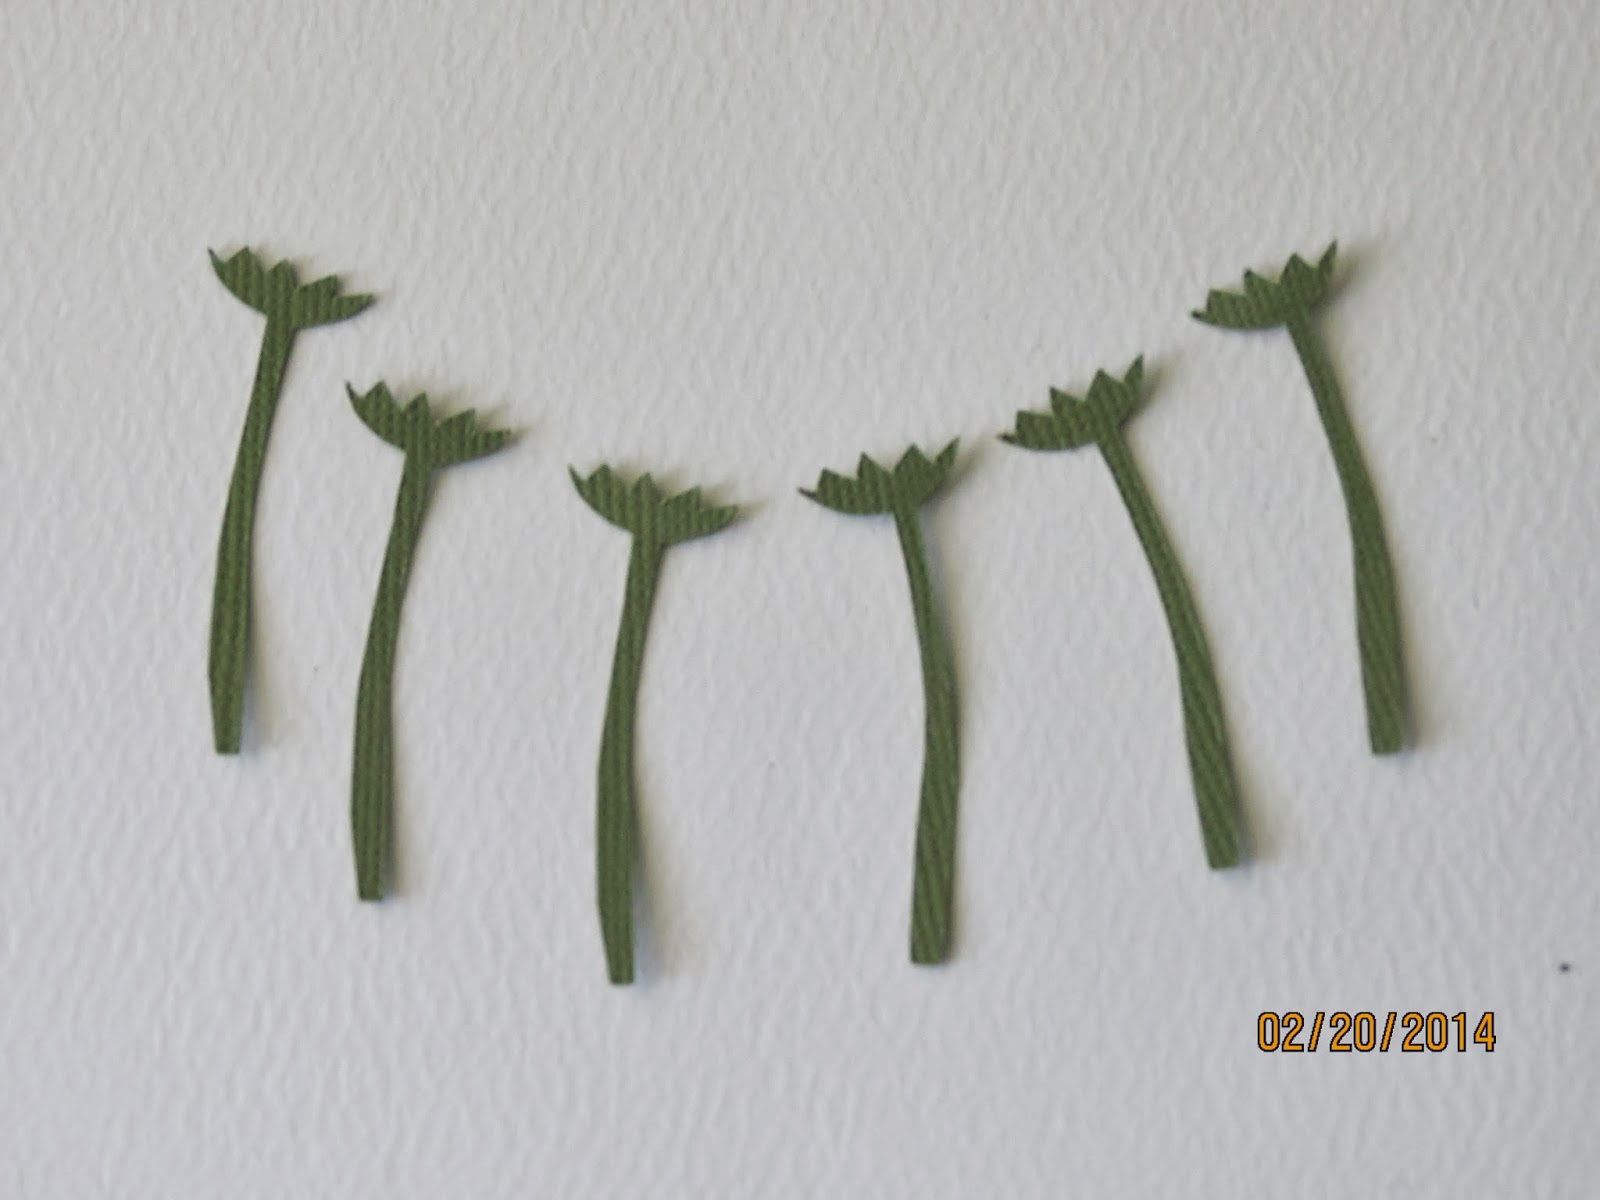 |
| My own design created in Silhouette Studio |
 |
| From the Silhouette Store - 'Locust Leaf' |
 |
Manual embossing technique for shaping the leaves using one
of my favorite tools, the Paper Blossoms Stylus Set |
 |
Tip for positioning the flowers and leaves before adhering them
on the card and then covered with the basket: cut a strip of paper
and put double sided tape on both the front for gluing the
flowers and on the back for gluing the leaves |
 I made this card for my nieces Diwata and Finina and my friend Beatrice. This is actually a very simple basic three-fold card elegantly enhanced by the flower nicely bunched on top of a very beautiful Memory Box die, Cluster of Carnations, and the embossed background using the Cuttlebug embossing folder by Anna Griffin, Wildflower Gate. The very nice Spellbinders border from the Borderabilities Curved Borders One added to the simple elegance of the card along with the very rare Marianne Design Anja's label used for the Happy Birthday sentiment which I had difficulty creating in Silhouette Studio to fit the label perfectly. I created a pocket from the first fold of the card for the message insert which I created in Silhouette Studio tracing the outline of the same Memory Box Cluster of Carnations die used on the front of the card and on the matching box.
 For my blog followers who are interested in the box template and who happen to own the Marianne Design Anja Labels set and would like the Happy Birthday sentiment, just indicate your request on your comment. I can also include the customized message insert.