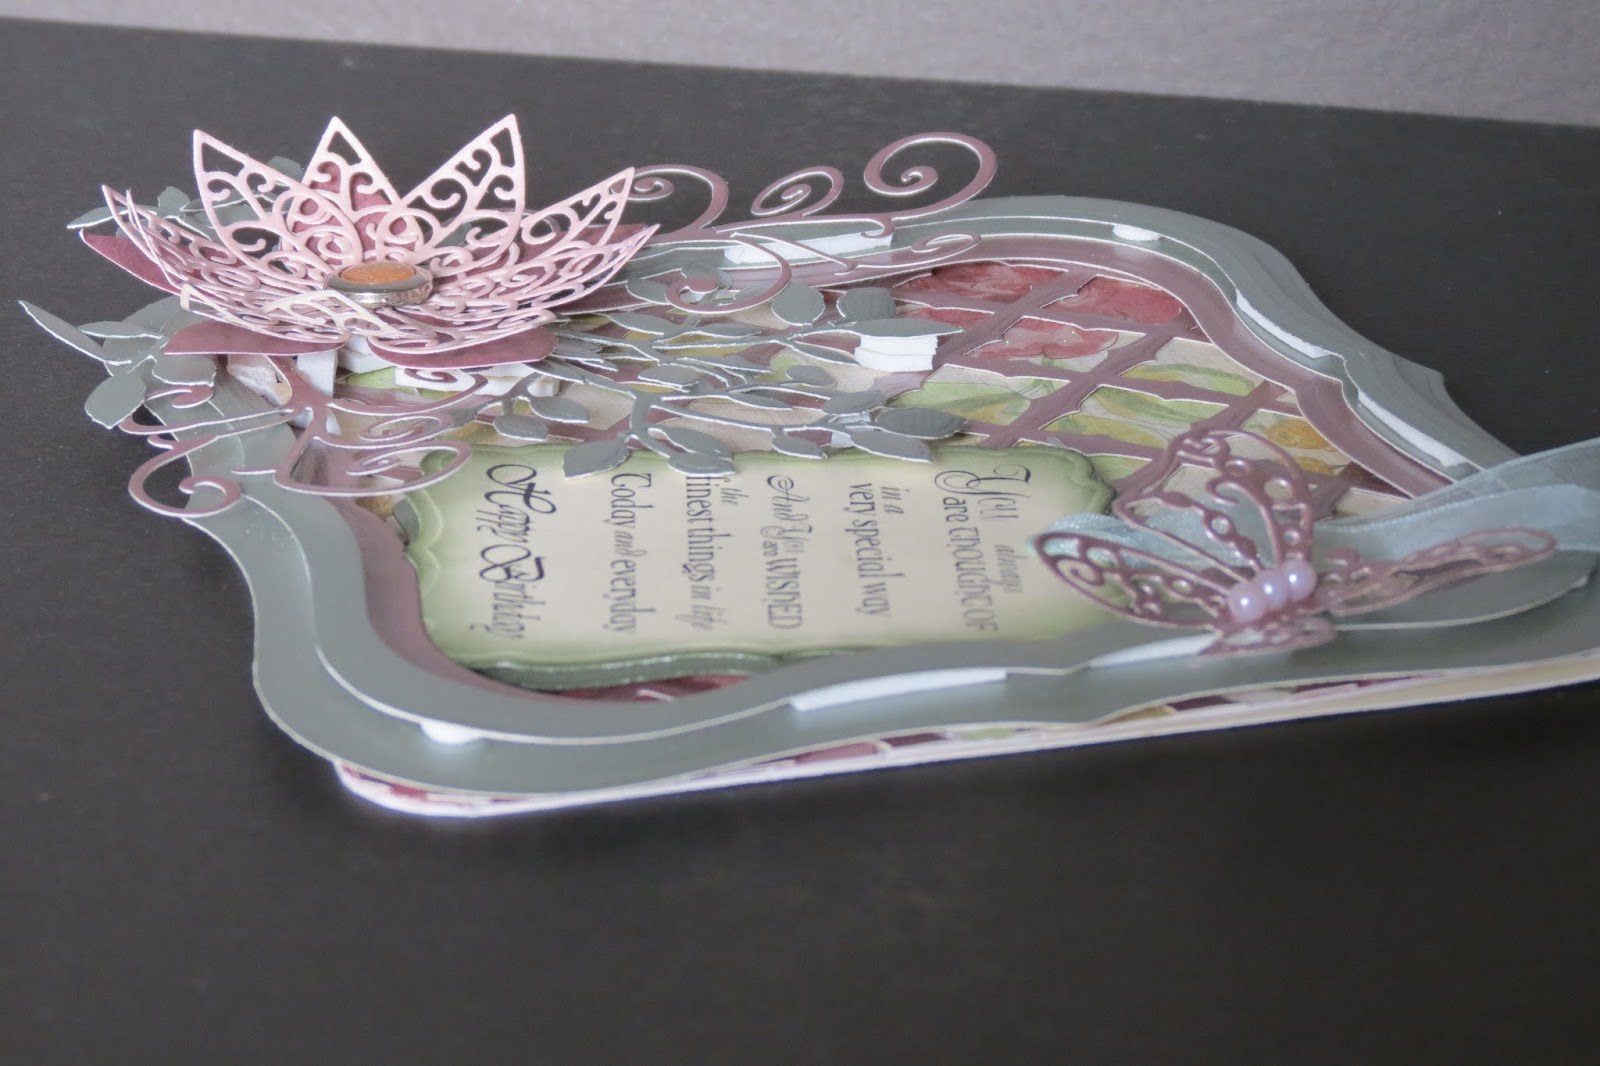
I was inspired by a card I saw on Pinterest found on
Pam's Crafts blog mainly because it made use of the Spellbinders Grand Labels One and Memory Box Meso Background dies that I happen to have but haven't had the chance to use yet. It is a beautiful framed layered card. The Grand dies are quite large and I wondered about the actual size of the card which prompted me to send Pam an email which she responded to promptly much to my delight. I speculated that there were 2 Meso Background diecuts used on her card which were pieced together which she confirmed and the size of the frame of her card is a 7-inch square. Thank you so much again, Pam, for your very helpful information. Please check out Pam's blog linked here to see her beautiful cards and get inspired with her creative ideas.

As I mail most of my cards abroad, I needed to make this card smaller. The frame is a 6" square. To protect the 3D embellishments on the card, I made a matching box using the same Labels One die for the window on the box cover.
I made this card for my friends Celia, Beatriz and Maria.

My blog followers must be disappointed with my new craze for manual die cutting as I have not been able to share any free files with my recent cards. That's the beauty with manual die cutting, the diecuts from the metal dies are just so beautiful on their own that I don't need to spend hours of creating my own designs like I used to. The only thing that I do now is create the sentiments in the Silhouette Studio according to the exact measurement of the metal die used. All I need to do is a straight forward printing instead of the Print & Cut process in the Studio.
I know that I have a lot of blog followers who are also into manual die cutting so if you happen to have the dies used and would like the sentiments file, just shoot me an email and I'll send you the Studio file for free. Please note that I only share my free files with my listed blog followers.
Happy crafting!
Ligaya
 |
| Spellbinders Grand Labels One |
 |
Combination of 2 dies (skipped one size in between) for the framed
lattice layer |
 |
| Combination of 2 dies (skipped one size in between), larger dies for the green frame |
 |
| Meso Background die by Memory Box |
 |
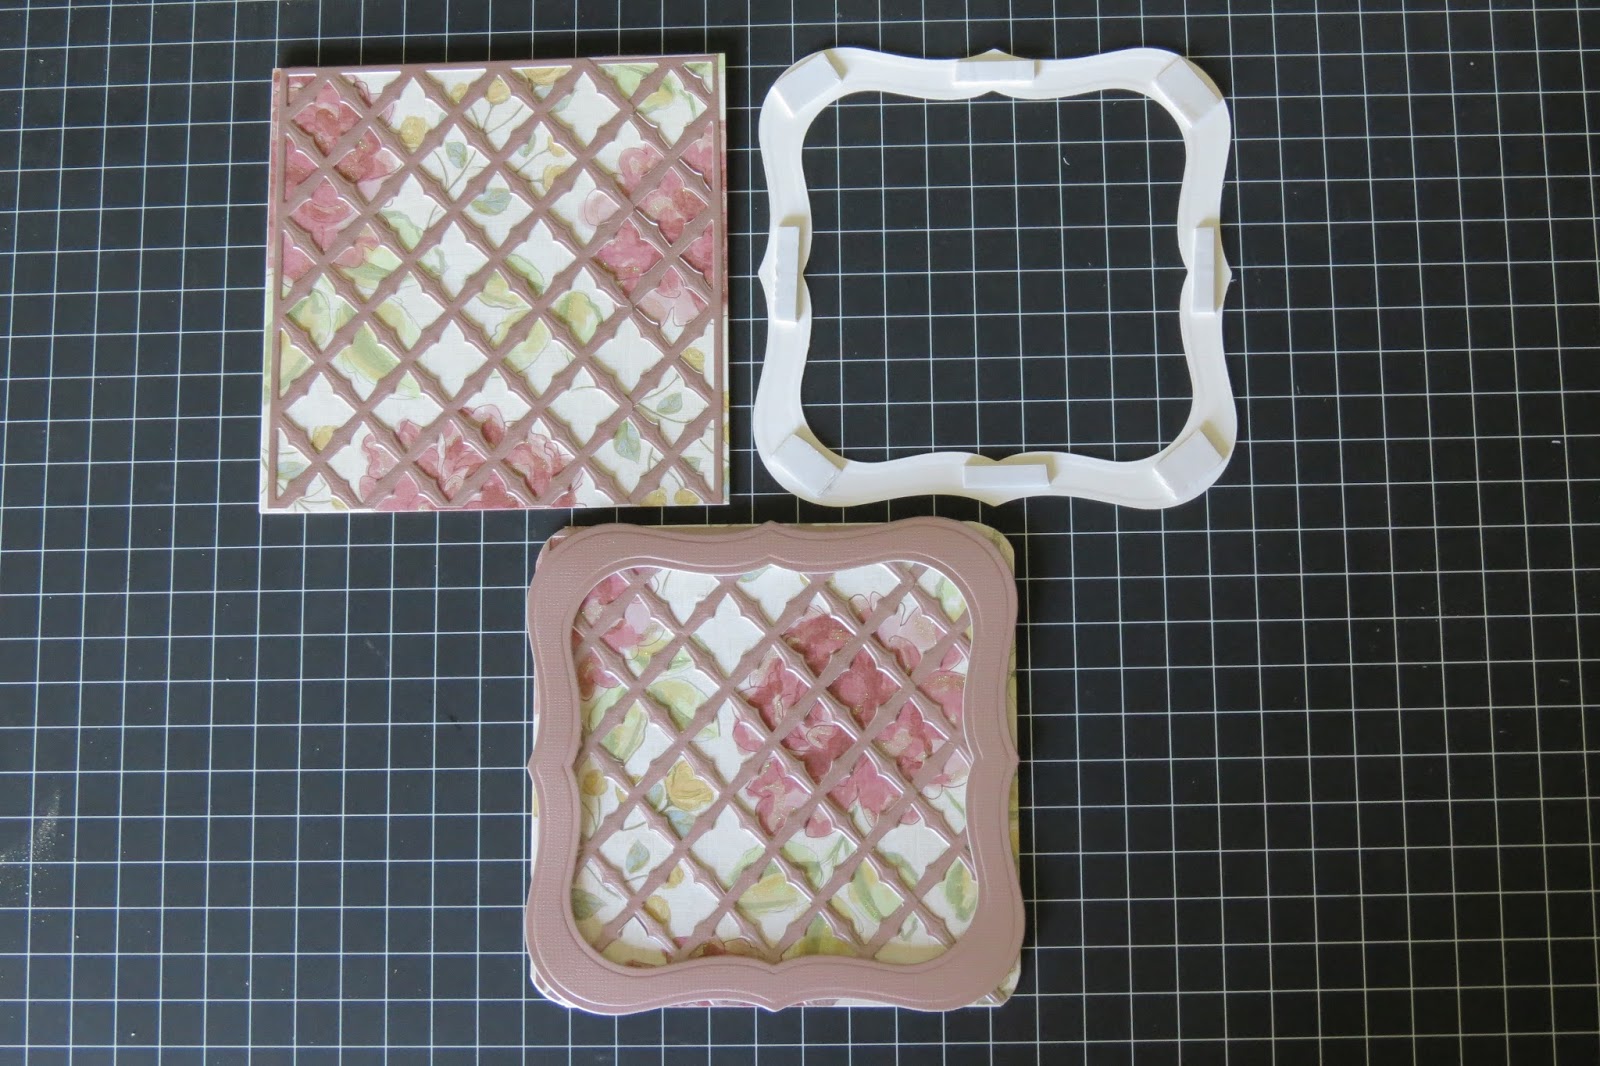
Cut 2 pieces of die Meso Background die, split one into two and
glued the 1/2 piece with the whole piece to create a perfect square
to cover the full base of the card. |
 |
The base of the card is a simple 2-fold card covered
with a DCWV patterned paper |
 |
| Rounded the corners to fit the frame |
 |
Layering: 1) 2-fold base of the card, 2) patterned paper, 3) lattice,
4) first frame with 3D foam tape |
 |
| Topped with the 2nd frame (green) |
 |
| Final top frame layer with 3D foam tape |
 |
| Used the 3rd smallest die of the Spellbinders Labels 17 die for the sentiment |
 |
| Created the green mat for the sentiment in Studio and cut with the Silhouette Cameo |
 |
Distressed the edges of the sentiment layer with 'Always Artichoke'
ink pad by Stampin' Up using my homemade sponge daubers |
 |
Eyelet for the ribbon slot on the sentiment tag using my
Crop-A -Dile Eyelet Punch Setter |
 |
Flowers by Memory Box - Small Luxe Poinsettia Outline and
the matching Small Luxe Poinsettia Background |
 |
| Flowers distressed with Tim Holts Distress ink pad 'Milled Lavender' |
 |
| Spellbinders 'Sprigs' |
 |
| Flourish Swirl by Die-namics |
 |
| Spellbinders Les Papillions One |
 |
Spellbinders Fancy Framed Tags Two. The name was printed from the Studio
and cut with the Spellbinders tag die |
 |
Spellbinders Fancy Framed Tags Two. The name was printed from the Studio
and cut with the Spellbinders tag die |
 |
The decorative oval die from the Spellbinders Elegant Ovals set
was cut into 2 as pictured and trimmed on the sides and layered underneath
tag diecut for aa design variance. |
 |
Tim Holtz 'Victorian Velvet' Distress Ink
using my DIY sponge dauber and Judikins Color Duster |
 |
Spellbinders Grand Labels One die used to cut the window for
the box cover |
 |
| Perky Poppy die by Memory Box used on the box cover |
 |
| Spellbinders 'Corners and Accents One' used on the box cover |
 |
| Spellbinders 'Hibiscus Corner' used on the box cover |
 |
I always add reinforcement on the sides of the interior of the box
to make it sturdy for mailing |
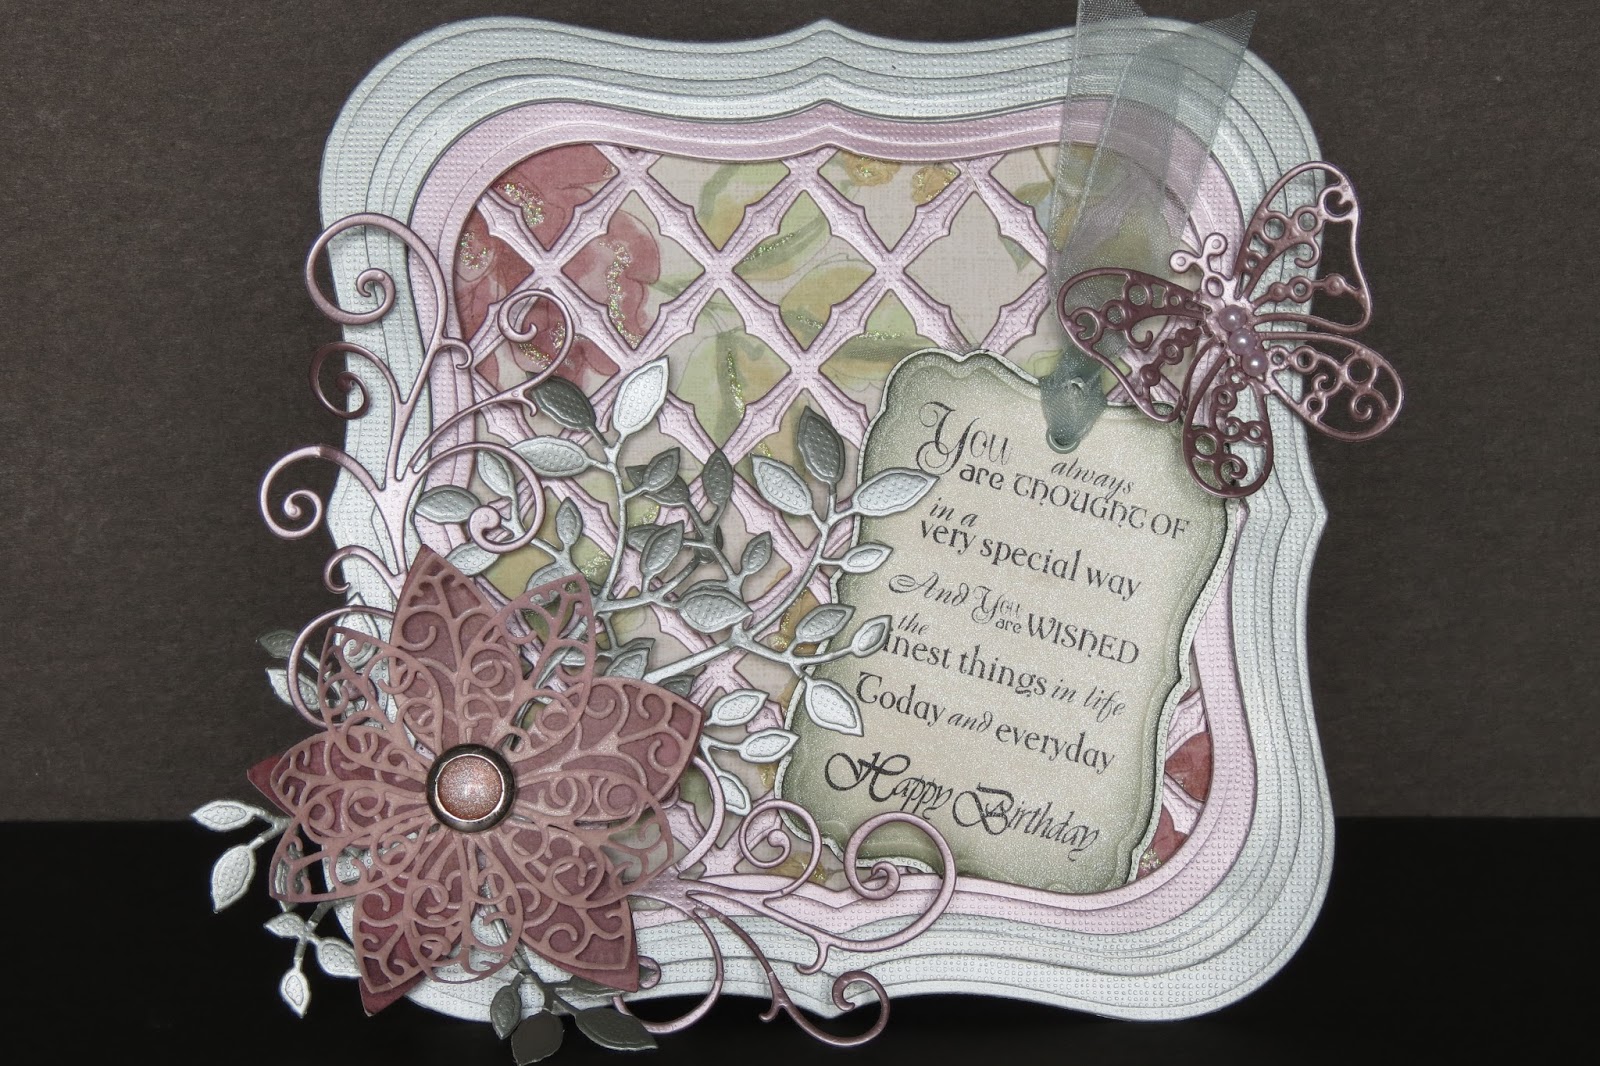
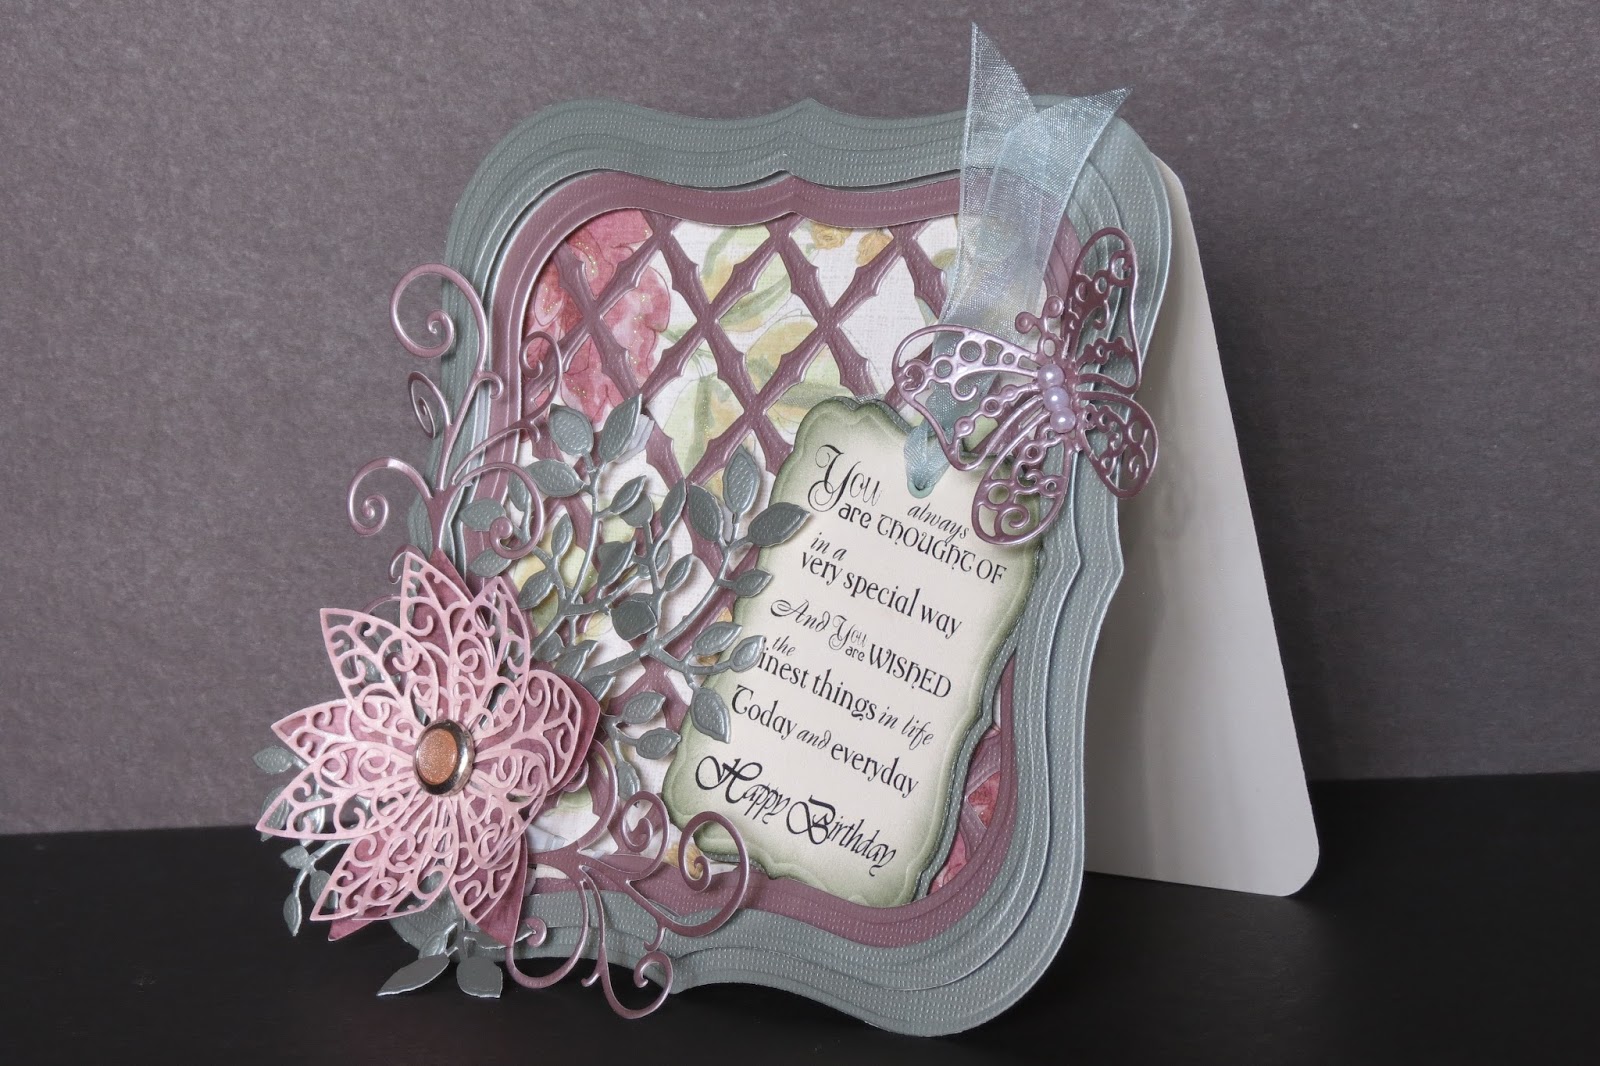 As I mail most of my cards abroad, I needed to make this card smaller. The frame is a 6" square. To protect the 3D embellishments on the card, I made a matching box using the same Labels One die for the window on the box cover.
 My blog followers must be disappointed with my new craze for manual die cutting as I have not been able to share any free files with my recent cards. That's the beauty with manual die cutting, the diecuts from the metal dies are just so beautiful on their own that I don't need to spend hours of creating my own designs like I used to. The only thing that I do now is create the sentiments in the Silhouette Studio according to the exact measurement of the metal die used. All I need to do is a straight forward printing instead of the Print & Cut process in the Studio.